Example · Architects
Help your client understand the project before you meet.
Your client knows the site and how they want to live. Give them a simple way to explore the proposed volumes in a browser, too.
Project presentation · Massing and elevations
A house to explore ahead of the meeting
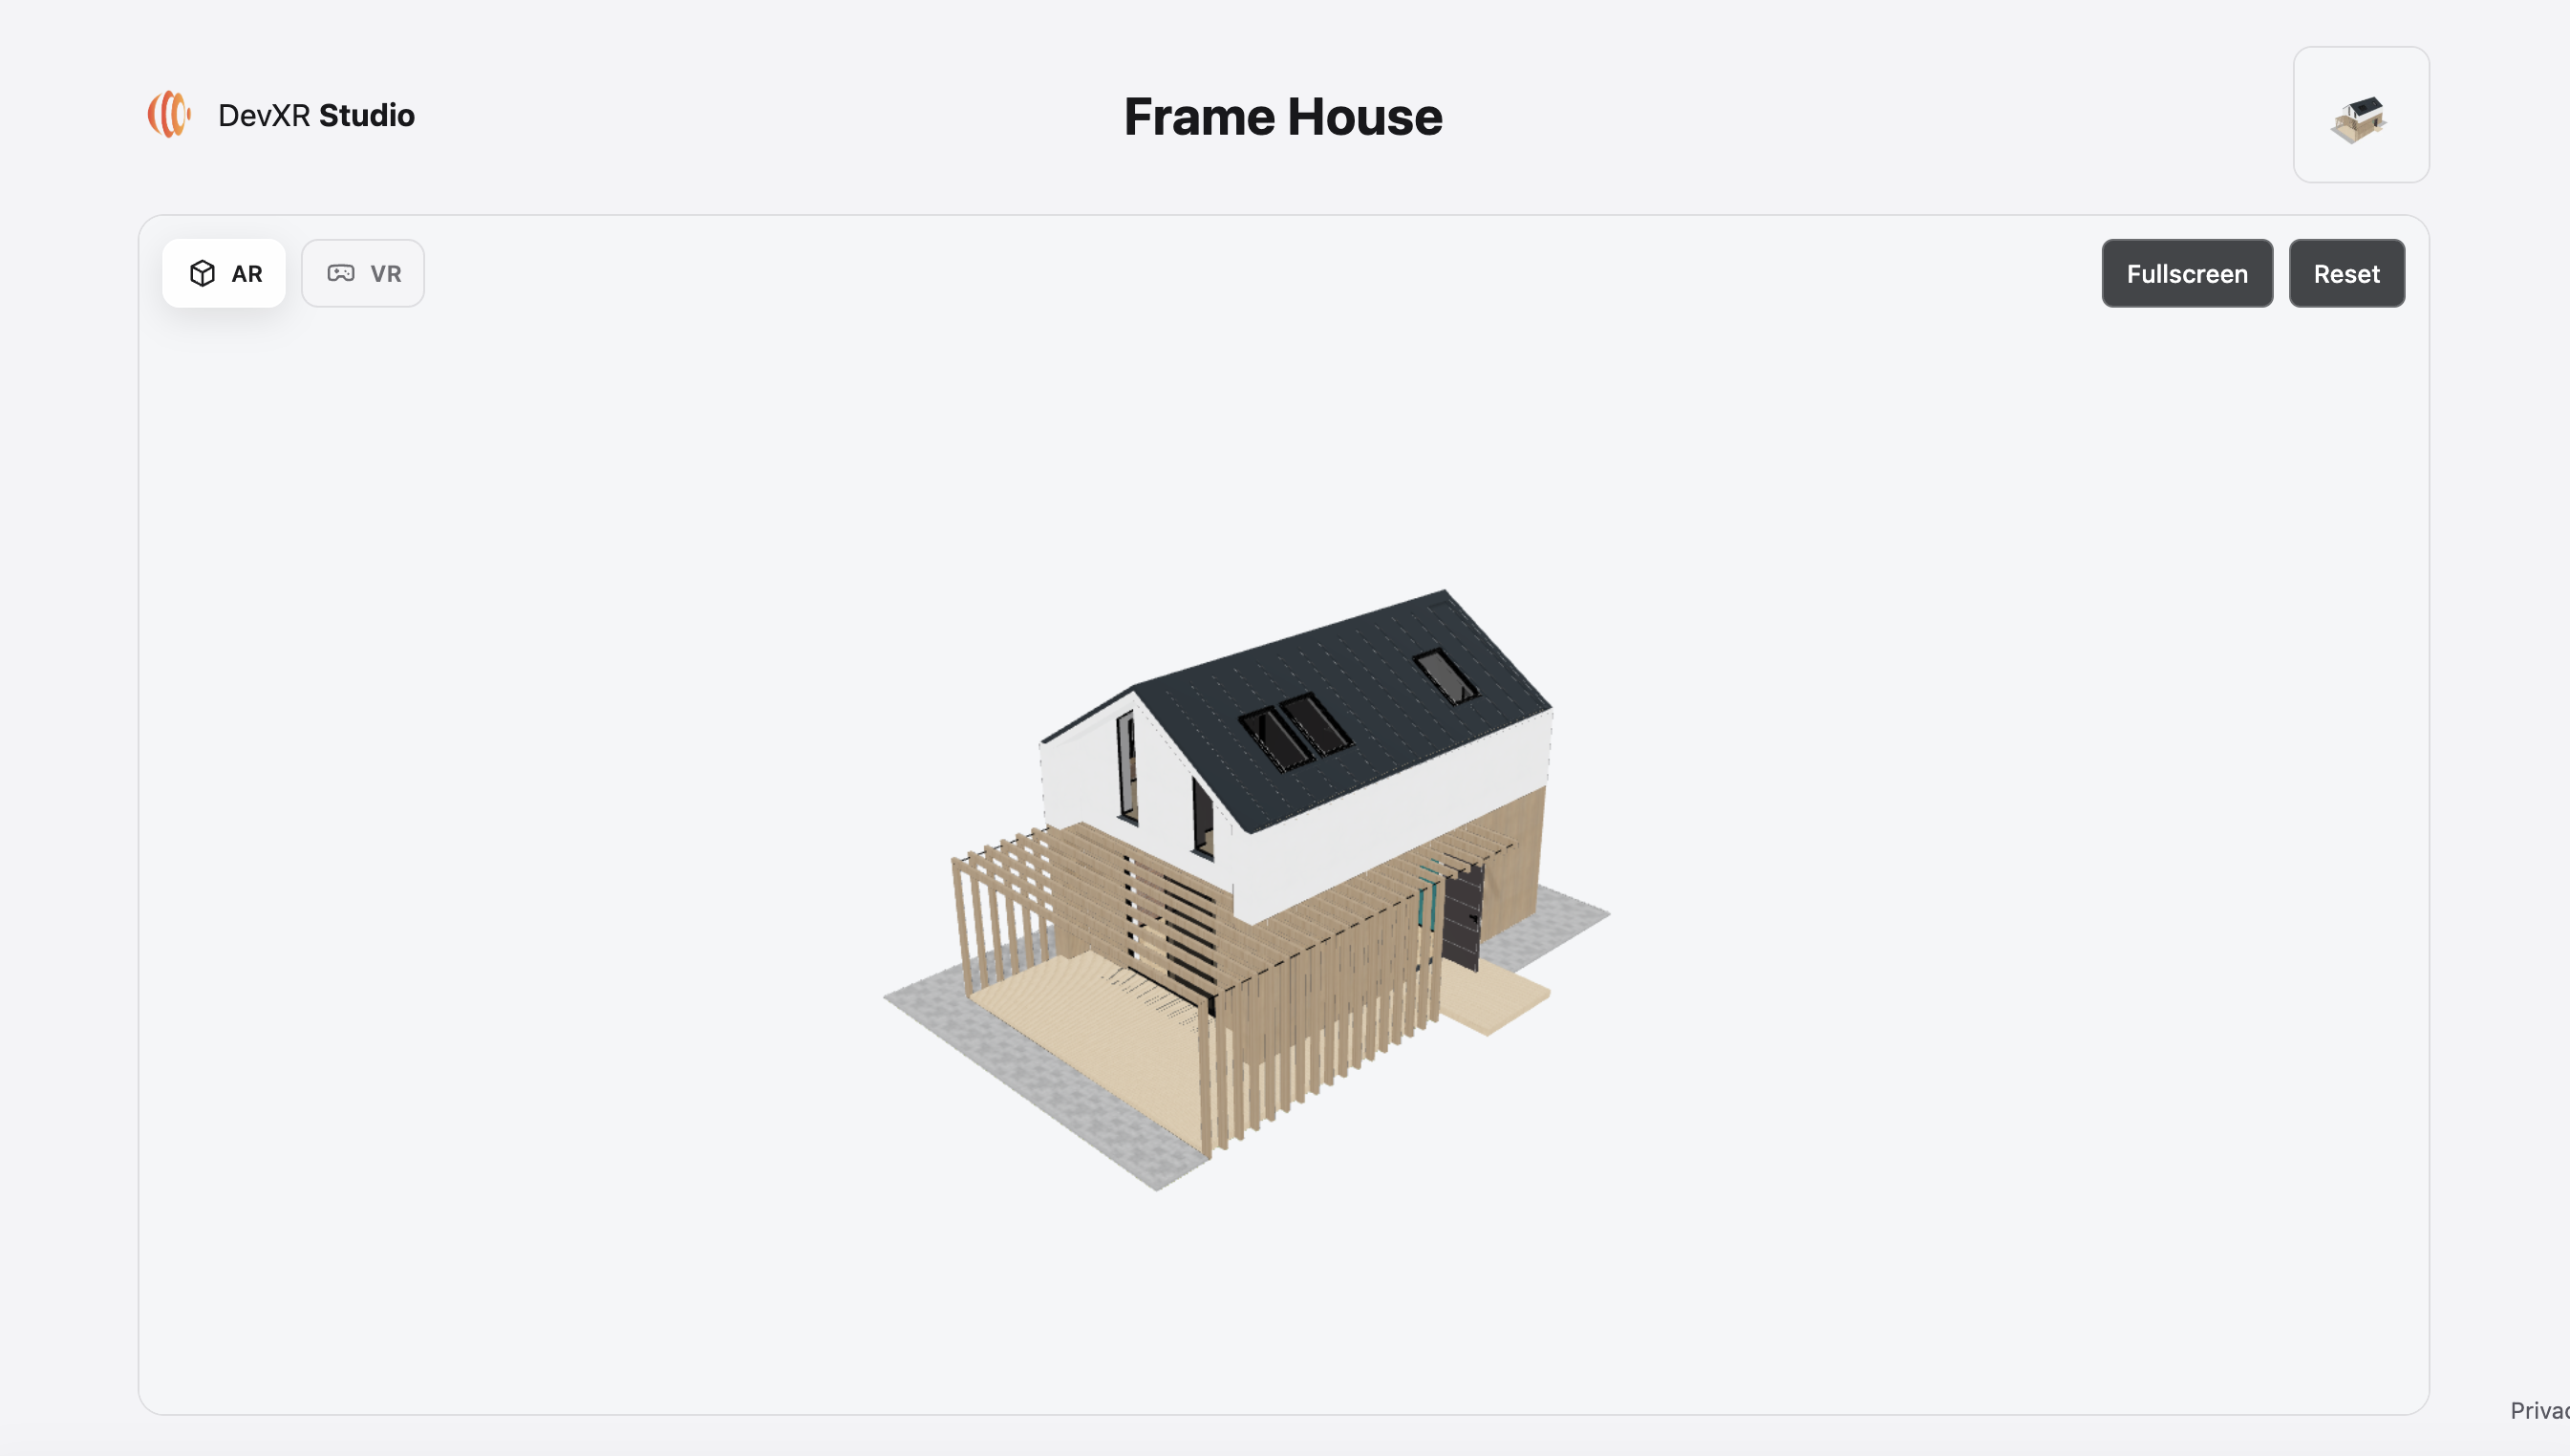
The client's question: how do the spaces relate?
Picture an early house presentation. The drawings are ready, but your client struggles to connect the elevation, roof and route onto the terrace. A still image explains one view; a model they can rotate offers another way into the proposal.
For this example, send the link ahead of the meeting with a focused invitation: look at the entrance and the relationship between the main volume and the outdoor space. You can then discuss recognisable elements instead of navigating a scattered set of screenshots.
Build the scene around that conversation
Export a communication model from your authoring tool. Keep the geometry that explains the proposal. Details that cannot be seen at this scale do not all need to reach the client's phone.
Set an informative opening view
Import the GLB and wait for processing. Position a three-quarter camera view showing the entrance and two elevations, so the proposal is easy to read on arrival.
Give the volumes definition
Balance the background and lighting without washing out pale walls. Rotate around the house to check shaded areas, rather than reviewing only the opening angle.
Add a purposeful landmark
If you use points of interest, describe an intention such as “Terrace access”. Check public visibility and avoid annotating every detail of the building.
Invite the client to look
Save, publish and open the link while signed out. Include two questions for your next meeting. The recipient sees the presentation; your working scene stays in your authoring tool.
Give the recipient a useful starting point
Adapt this sample note: “Here is the proposed building volume. Rotate the house to look at the entrance and terrace. Before our next conversation, note what feels clear and which views you would like to revisit together. The attached drawings remain the dimensional reference.”
Use the demonstration above to experience the recipient's journey. For your own work, publish only material approved for public distribution: a published URL is not a private invitation addressed to one person.
Keep the presentation at the right level of precision
This workflow supports a visual conversation. It does not turn the viewer into BIM coordination software, a regulatory checking system or a certified measurement tool. Keep dimensions, contractual documents and technical drawings in their appropriate project records.
The RIBA Plan of Work provides a framework for design stages and stakeholder discussions. To prepare your meeting, identify the decisions you need to make together and the views that will help explain them.
Start with one elevation you want to explain
Choose a house or simplified volume you have permission to share. Prepare the opening view, publish it and follow the link on your phone. That gives you something concrete to assess before adding interactive presentations to future client conversations.
Present my first project