Publishing and sharing · OBJ to URL
OBJ to URL: from file to 3D link
Prepare your OBJ with its materials and textures, import it into a DevXR project, then choose the opening view, lighting and interactions. Save the presentation and publish the model to copy a URL that opens a 3D viewer in the browser. The model stays private while you prepare it.
What do you get from OBJ to URL?
Your recipient opens an interactive presentation: they can examine the model in a compatible browser without installing your 3D authoring software. The viewer URL is neither your OBJ/MTL working folder nor a direct source-file download link. The viewer uses the GLB processed and validated by DevXR.
For an agency, accompany the link with a specific instruction: “examine the garden-facing façade” or “check the handle”. On a product page, it complements photos and dimensions. OBJ suits a static presentation; this workflow does not carry character animation.
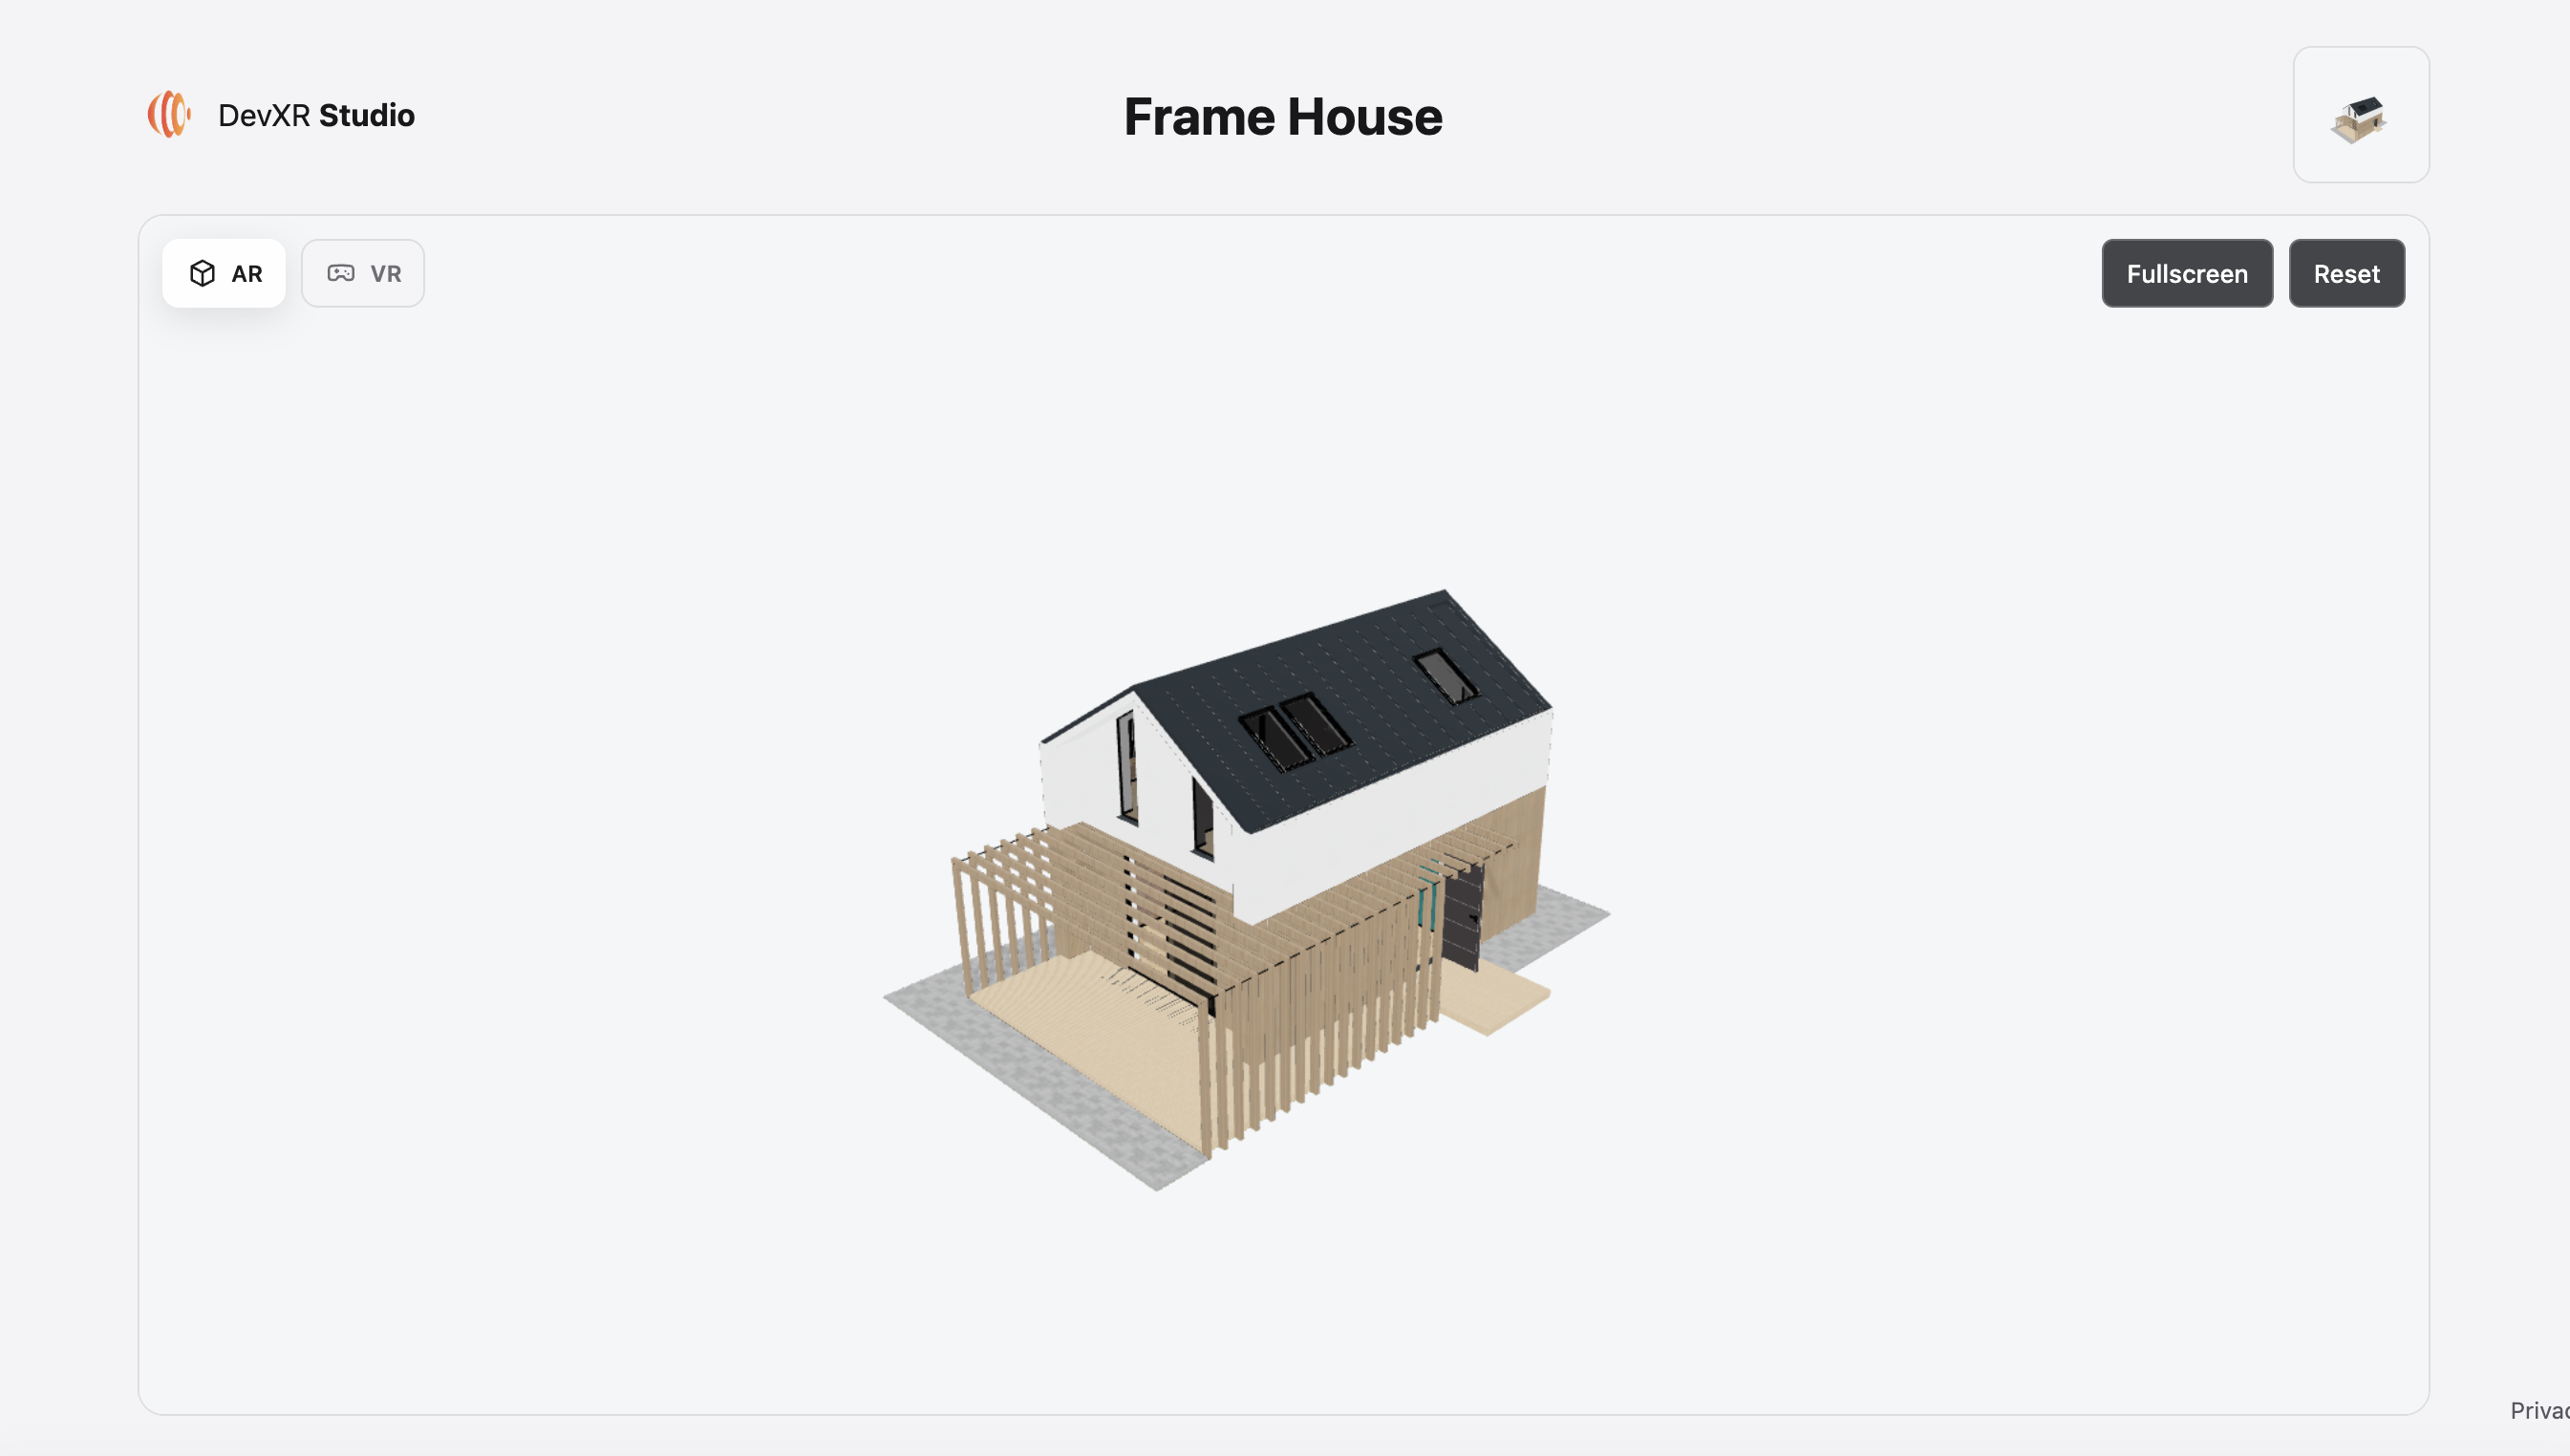
Prepare the OBJ for web delivery
Start with an export you have already opened in your 3D tool. Gather the OBJ, the MTL files it references and their PNG or JPEG images. Keep names and relative paths intact: moving a texture without updating the MTL can break its association.
Choose units from the source information, rather than guessing from the viewer. Note whether the export uses metres, centimetres or millimetres and prepare Y as the up axis. If the export uses another axis or contains a scale error, correct it in the source tool before delivery.
| Decision | Useful preparation | Why it matters |
|---|---|---|
| Object to present | One main model and only the resources it needs. | Avoid delivering several variants without knowing which will be published. |
| Materials | For map_Kd, use a simple path without spaces or options; PNG/JPEG images. | MTL import supports a controlled subset and does not promise every shader or relief map. |
| Folder size | At most 100 MiB combined and 256 files, subject to displayed limits and quotas. | The total includes OBJ, MTL and images; complexity and estimated memory are also checked. |
| Target use | Choose the detail to inspect and your recipients’ devices. | A model prepared for a workstation may need a lighter export for the web. |
Import and wait for the ready model
Sign in with a verified email address and open the destination project with the required permissions. This import creates a new private model. Version replacement, LODs and thumbnails are not available for these OBJ models.
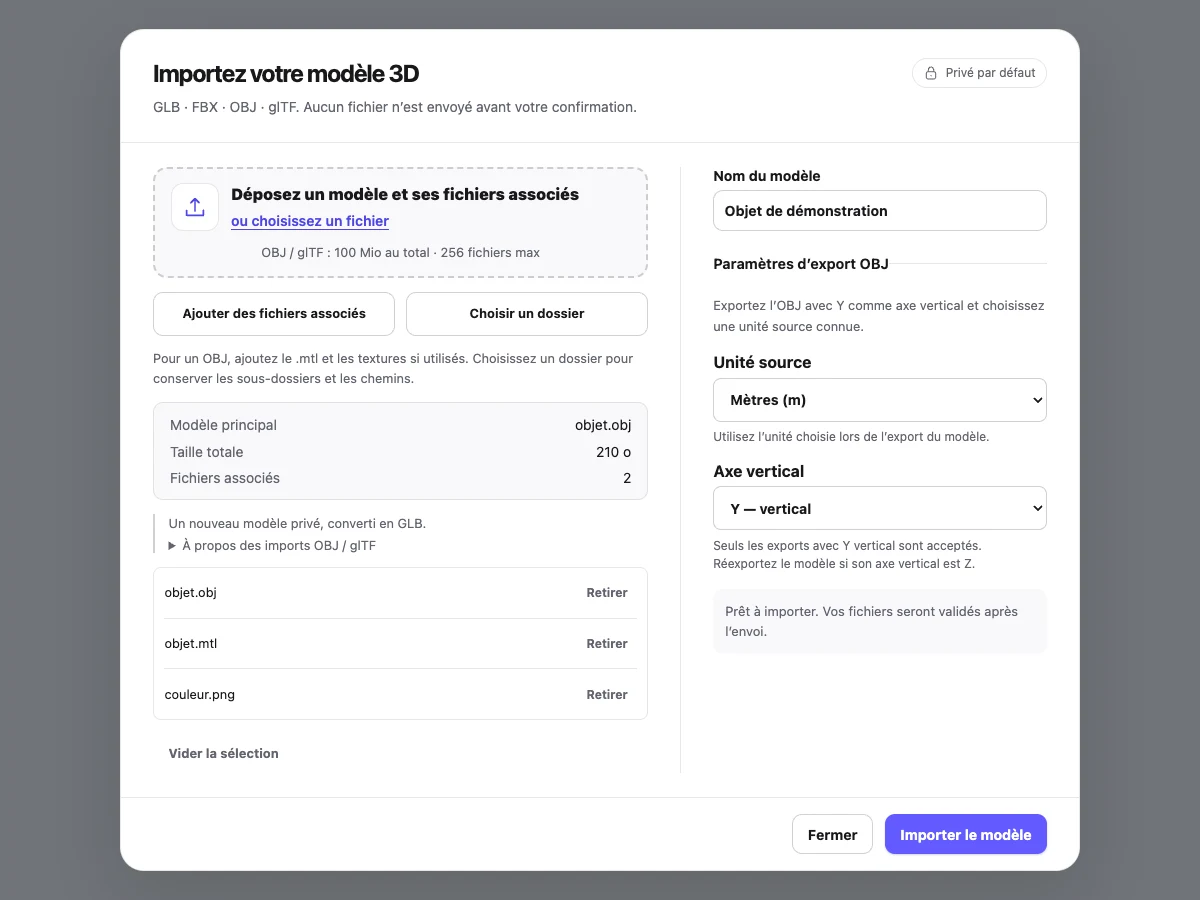
Select the model and its resources
Choose Add model. If the export contains subfolders, use Choose a folder to preserve their paths; dropping a folder is not supported.
Check OBJ settings
Name the model, choose its actual source unit and confirm Y as the up axis. Review the main model, companion resources and combined size.
Confirm and wait for processing
Choose Import model. A completed upload does not mean the model is ready: wait for validation and processing before opening the viewer.
Review conversion before changing the appearance
First compare the ready model with your source export: silhouette, proportions, orientation, textures and transparency. Inspect the underside, opposite angles and close-up details. A technically accepted model can still contain a visual difference that matters to your client.
An MTL material can respond differently from a viewer material. Diagnose missing textures, incorrect UVs or inverted faces in the source. Lighting and face-display settings do not reconstruct missing geometry or materials that were never exported.
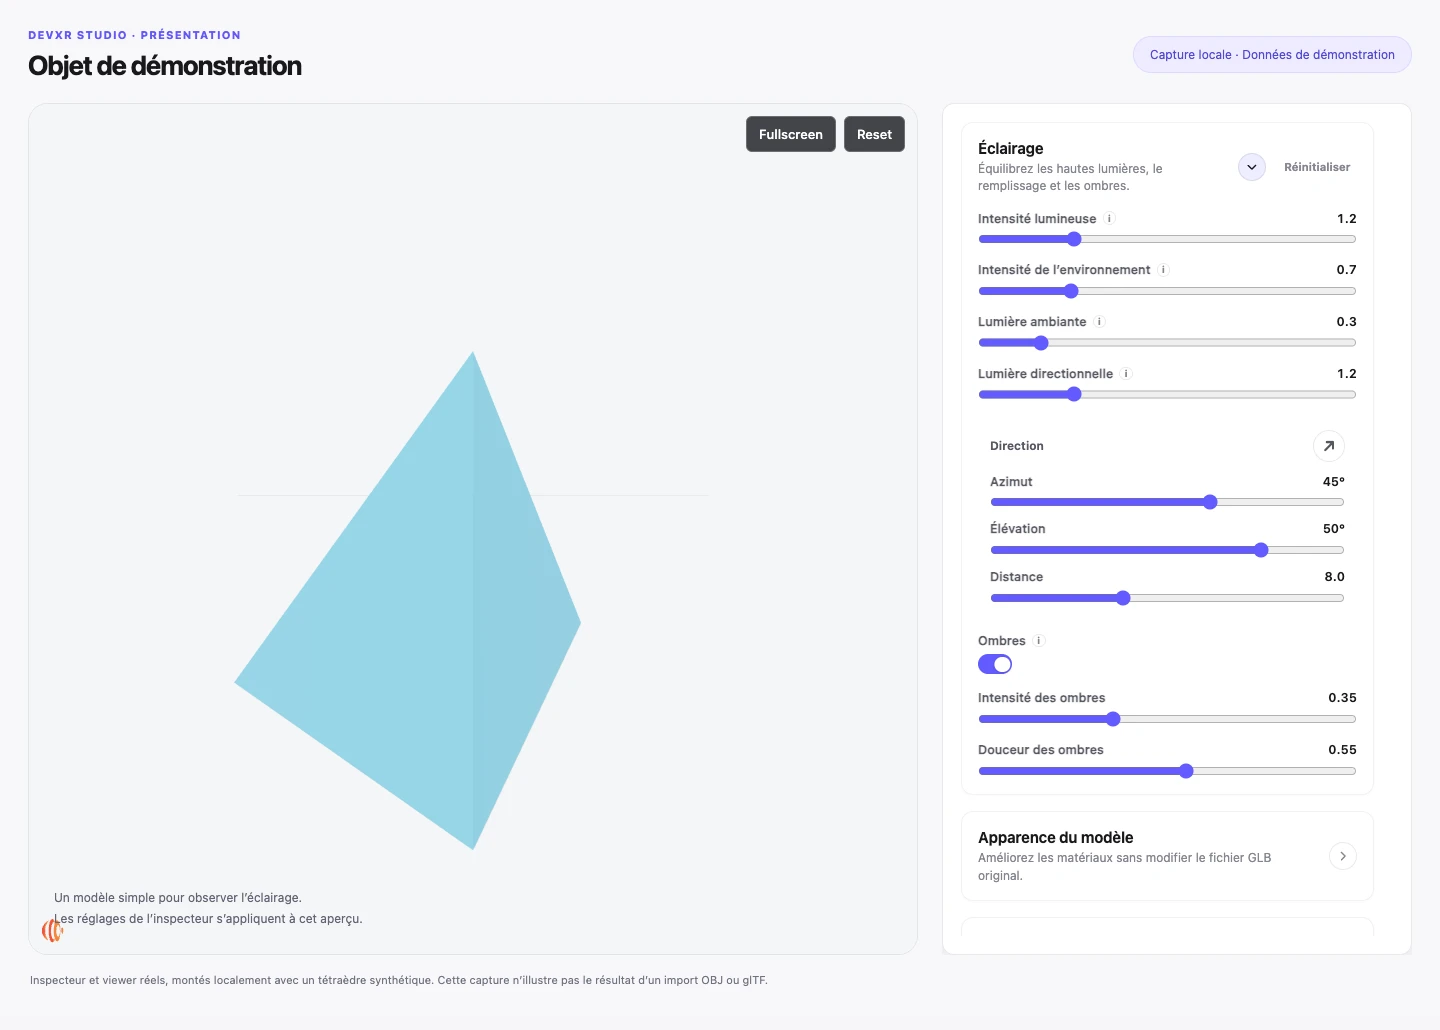
- For a product: inspect logos, texture seams and the silhouette from several angles.
- For an architectural model: check openings, proportions and the façade you intend to present.
- For a unit or axis error, correct the export. Camera zoom or presentation rotation does not prove the source is accurate.
Configure an opening view that shows what matters
In the Style tab, begin with camera framing, then background and lighting. For an agency handoff, a three-quarter view often gives clearer context than an isolated close-up. Leave space around the object and check the same presentation in a narrow window before saving the current view.
Studio settings are non-destructive presentation configuration. Saving retains that configuration; it does not rewrite your OBJ or produce a new export with lighting baked into it.
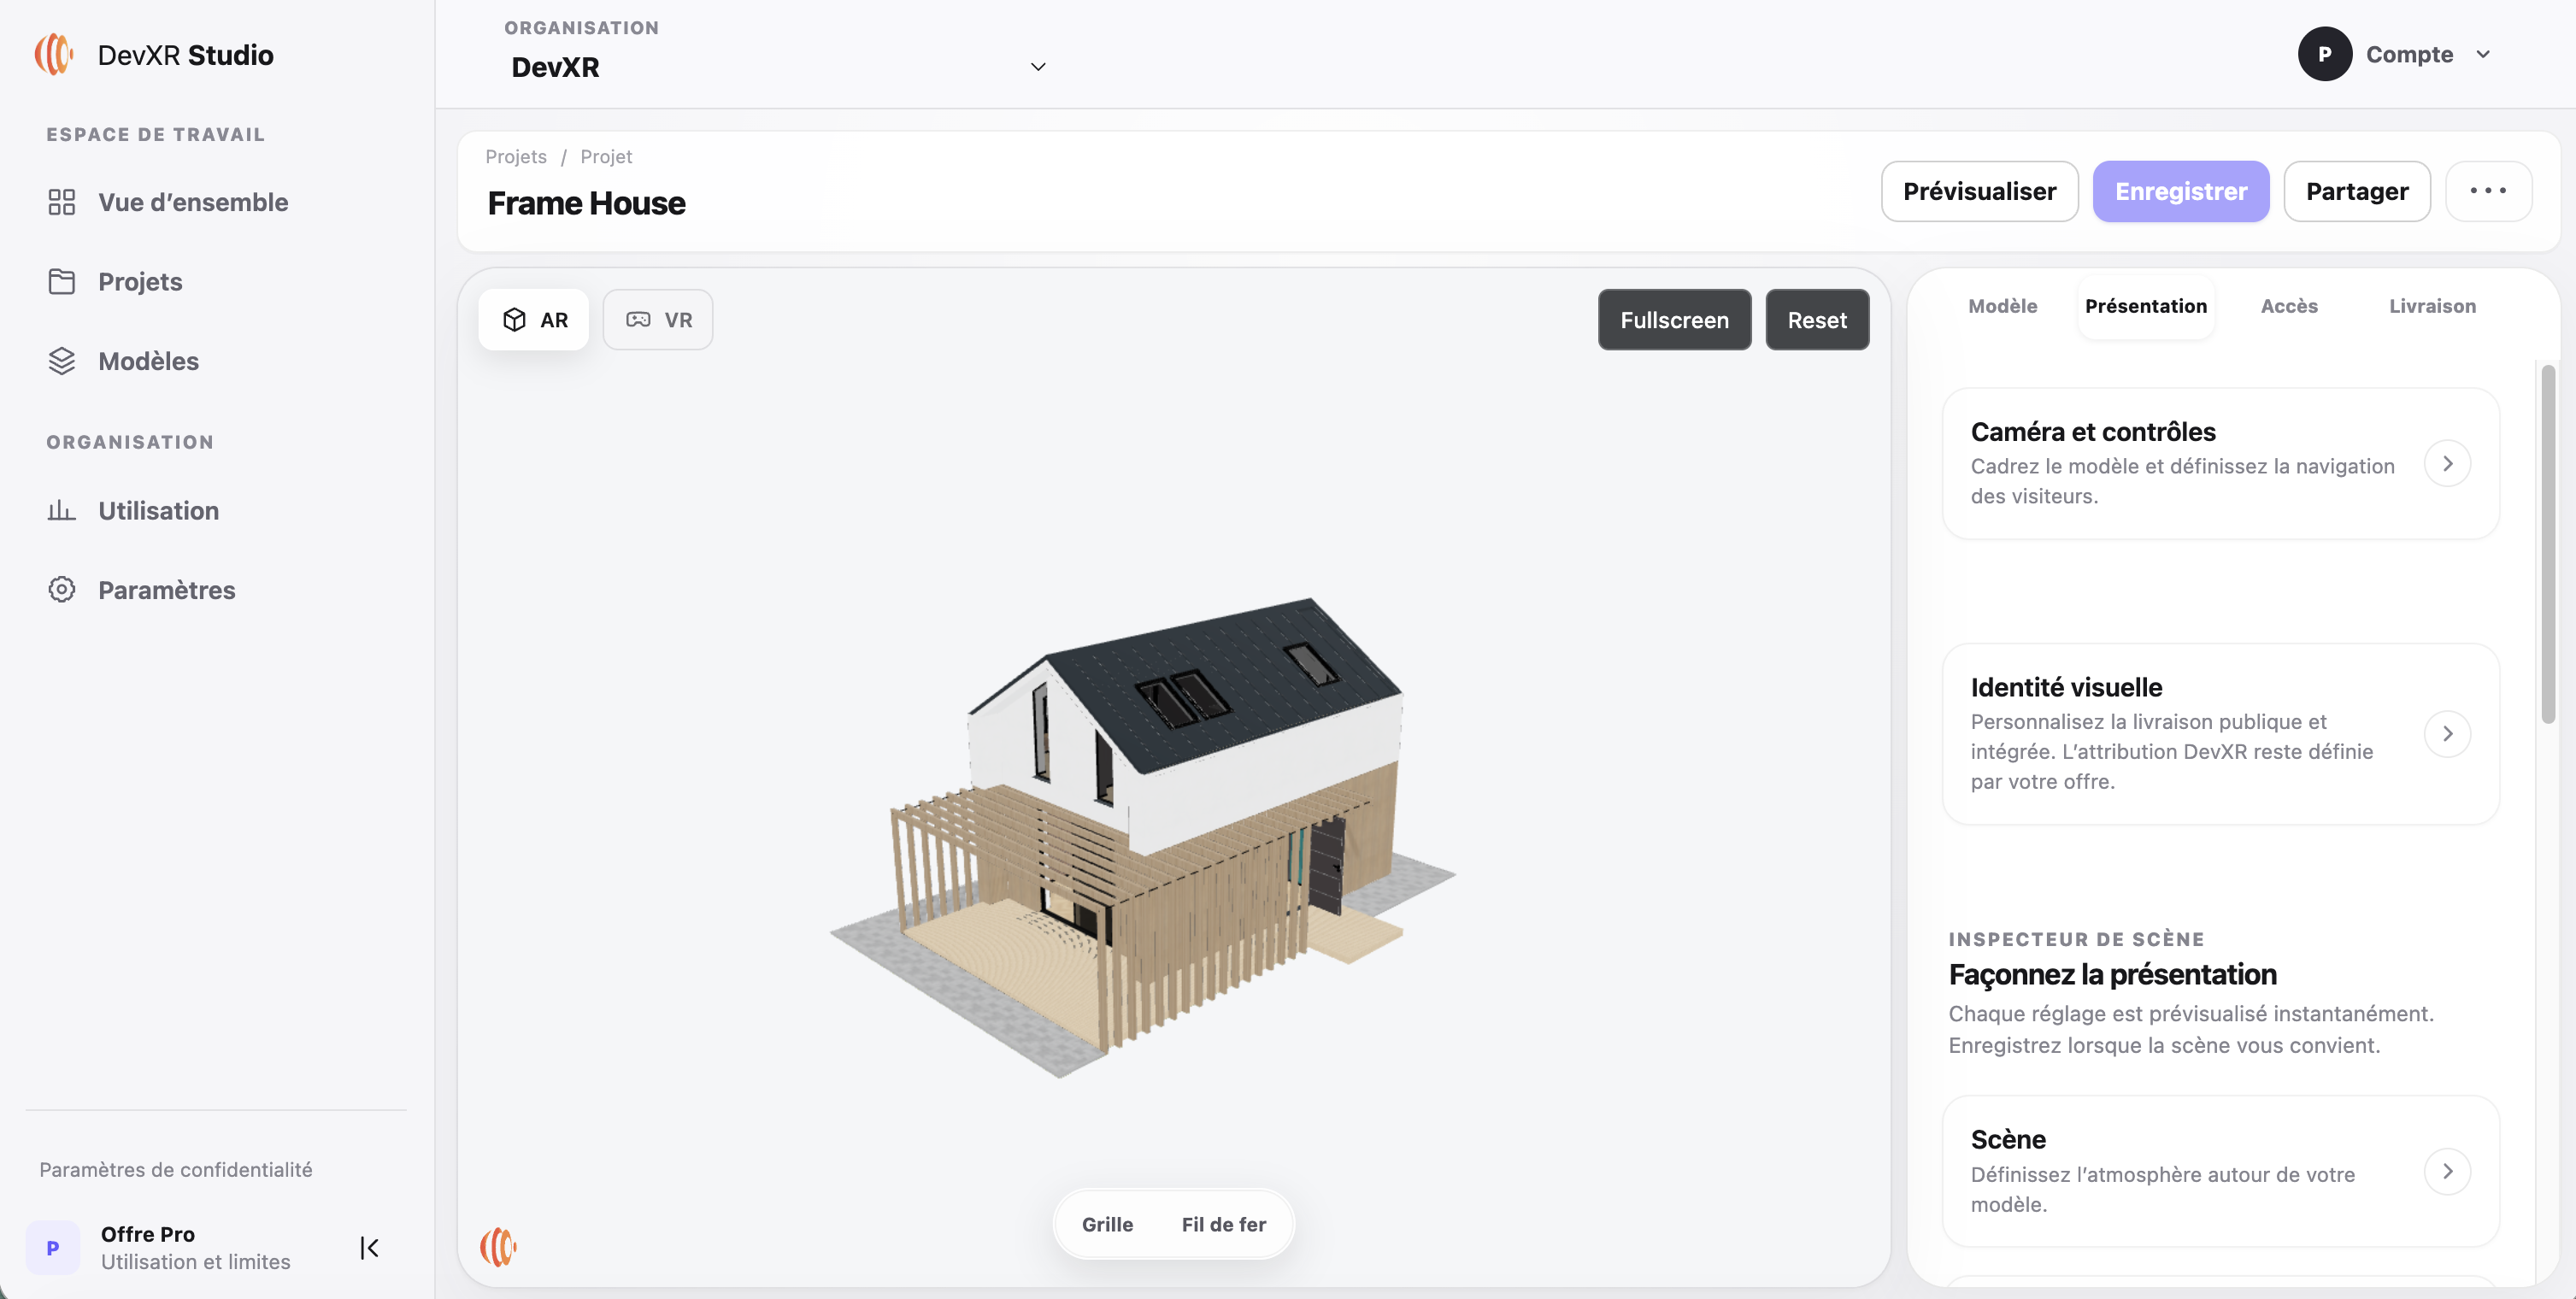
| Setting | Intended effect | Check before sharing |
|---|---|---|
| Start view and field of view | Open on the useful angle with the whole object and some margin. | The saved view remains readable on mobile; a wide angle does not excessively distort how the product looks. |
| Background and environment | Separate the silhouette and provide readable reflections. | The model stands apart from the background. The environment may differ from the lighting in your source render. |
| Light and environment intensities | Reveal volume without washing out textures. | Compare dark and bright regions before increasing a master intensity. |
| Shadows and shadow intensity | Visually ground the model; intensity ranges from 0 to 1. | Shadows do not hide the detail you need to present and remain usable on the target device. |
Choose interactions and rendering quality
Offer the controls that help visitors examine your object. Rotation and zoom let a client inspect detail; camera distance limits help keep the model in view. Moving the camera is not a measurement tool.
| Option | When to use it | Tradeoff |
|---|---|---|
| Rotation, zoom and pan | Let the client explore different sides and return to the overall context. | Check navigation limits and restoring the saved view. |
| Auto rotation | Gradually reveal the silhouette of a static object. | Disable it when movement makes detail harder to inspect or compare with a photo. |
| Fullscreen | Give the model more room, especially in a small embed. | Check that the action remains available in the parent site when using an iframe. |
| Pixel ratio, from 0.5 to 2 | Balance sharpness and rendering cost. | Higher ratios can increase GPU load. Try a lower value on a modest device; this does not reduce the downloaded file size. |
- For client review: favour a stable opening and simple controls.
- For a product page: check that zoom reaches the useful detail without going through the surface.
- A good result on your computer does not guarantee the same performance on your recipient’s phone.
Save, publish and copy the viewer URL
Share after reviewing the presentation. This link opens a published experience; an address copied from your browser bar while you are in Studio is not a client link.
- For email or a client message: send the public URL with the detail to inspect.
- For a web page: copy the generated iframe code and follow the embedding guide, with an accessible title and responsive container.
- To remove public access: unpublish, then test the old link without a session. This does not erase copies or screenshots already made.
Save the presentation
Save the scene and opening view. Wait for confirmation before continuing; unsaved changes can prevent publishing.
Publish the ready model
In Delivery, check the version you intend to present and choose to publish it. Importing and saving alone do not make the model public.
Copy Public URL
Go to Access and copy Public URL at the top of the panel. Use this address for the standalone viewer; iframe options are under Embed on a website.
Open a private browser window
Paste the address into a new session without your Studio sign-in. Check what appears before sending the link.
Check the experience as your recipient
The delivering agency, reviewing artist and publishing integrator have different things to check. Test at least once outside your Studio session and on a device representative of your visitors. Resizing a desktop window does not replace a real mobile test.
| Who checks? | Practical test | Expected result |
|---|---|---|
| 3D artist | Open the link, rotate around the model and inspect a textured detail. | Expected geometry and materials are visible, with no missing resources. |
| Agency or project lead | Follow the handoff message in a private browser window. | The recipient understands what to review and reaches the intended presentation. |
| Web integrator | Test the iframe in the real page, with a keyboard and on mobile. | The frame has a usable size, an explicit title and the expected embedding conditions. |
| Delivery owner | Check access conditions and test unpublishing when needed. | The link presents the intended model and removal of public access has been checked. |
- Wait for loading to finish and check loading or error states.
- Test rotation, zoom, restoring the start view and fullscreen when offered.
- Public links can be forwarded. Check that you have permission to share the models and textures concerned.
Diagnose an OBJ that does not look as expected
Identify the failing stage before starting again: selection, processing, rendering or link access. After an interrupted upload, refresh the model status first to avoid an unnecessary new import.
| Symptom | Diagnosis | Action |
|---|---|---|
| Grey object or missing texture | The MTL, its images or their references were not transmitted correctly. | Restore the folder, check map_Kd and export again if needed. Lighting cannot restore an absent image. |
| Sideways object or inconsistent proportions | Source units and axis do not match the export information. | Correct the source or export settings, then prepare a new import. |
| A face disappears | A normal or face orientation may be incorrect. | Inspect several angles and the source geometry. Face display does not repair the mesh. |
| Slow presentation on a phone | Textures, geometry, shadows or rendering resolution cost too much for the device. | Reduce presentation effects first, then prepare a lighter export if needed. |
| The client cannot open the link | A Studio address was copied or the model is not published. | Check publication, copy Public URL again and open it without a session. |
| Import rejected despite a small folder | Structure, references, complexity or estimated memory exceed the accepted profile. | Review the reported failure and correct the export; staying below 100 MiB does not guarantee acceptance. |
Questions before your first OBJ link
Do I need to convert OBJ to GLB myself? Not for a compatible OBJ folder with its resources: DevXR prepares the validated GLB used by the viewer. Keep your working source in your 3D tool.
Do I need to code, and does my recipient need an account? Preparation takes place in your Studio account. A model published with public access can be viewed without an account; an iframe requires a site that accepts its code and testing in the actual page.
Can Studio settings modify the downloaded file? These settings configure the viewer; they are not an export of the model with the edited scene. Downloading, when allowed, is a separate action.
Can I keep the same URL when uploading another OBJ? Version replacement is not available for these imports. Creating a new model does not automatically preserve the previous model’s address.
How soon can I share? Wait for the ready state, review the presentation and publish. Timing depends on the contents and processing; no fixed duration is guaranteed.
Prepare my first 3D link